Sentry provides a native add-on for Heroku. While this add-on is not required, it will allow you to maintain consolidated billing inside of Heroku, as well as enable easy configuration of your Sentry credentials.
This integration needs to be set up in each project for which you wish to use it. It is maintained and supported by the Sentry community
Install and Configure
Sentry owner, manager, or admin permissions are required to install this integration.
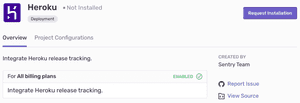
Navigate to Settings > Integrations > Heroku

Register the Add-on
To add Sentry to an existing Heroku app, head over to the Sentry Heroku add-on
Once done, you’ll be able to confirm that Sentry’s credentials are available via your config:
If you’re not using the add-on, you can still bind the SENTRY_DSN environment variable which the SDK will automatically pick up.
Install the SDK
Whether you’re using the add-on or not, you’ll still need to install the SDK per our standard platform-specific instructions.
Whether use the add-on or configure Sentry yourself, you’ll also likely want to grant quick access to your dyno metadata, which will allow Sentry to automatically pick up the git version of your application.
To do this, enable the runtime-dyno-metadata feature:
This exposes the HEROKU_SLUG_COMMIT environment variable, which most Sentry SDKs will automatically detect and use for configuration.
Next, you’ll want to add your repository and set up a deploy hook:
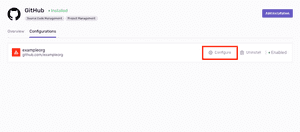
Start by connecting your repository to your Sentry organization so we automatically retrieve your commit data. Find your repository integration (GitHub, GitLab, Bitbucket, for example) in Settings > Integrations. From the Configurations tab, click “Configure”.

On the Configure page, click “Add Repository” then select the repository you want to use.

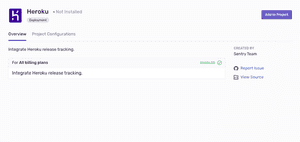
Find the Heroku integration in Settings > Integrations, and click “Add to Project” then select the project you want to use with Heroku.

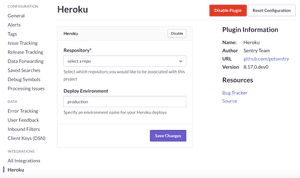
In the Heroku integration configuration, specify which repository and deploy environment to be associated with your Sentry project.

Navigate to your project’s Release settings and copy the deploy hook command to your Heroku config.

You’ll start getting rich commit information and deploy emails with each new release, as well as tracking of which release issues were seen within.
Help improve this content
Our documentation is open source and available on GitHub. Your contributions are welcome, whether fixing a typo (drat!) to suggesting an update (“yeah, this would be better”).
Source:
https://docs.sentry.io/product/integrations/deployment/heroku/


